Today was one of those rare occurrences in the UK, a sunny Bank holiday! What better excuse to get outside and crack on with the restoration. Top of my list was the cylinder head. I needed to get the valves ground in and refit them and the valve springs etc.
")
")
")
Firstly I gave the inlet and exhaust ports a good clean with a small paintbrush and flushed it all through with clean paraffin.
Next up was to grind the valves into their seats using grinding paste. This cleans up the inlet and exhaust port seats as well as the valve faces in order to ensure a nice tight seal.
")
")
")
This is a fairly easy job, requiring a tin of grinding paste and a screwdriver. The tin of grinding paste has two compartments. One for coarse paste, which is what you start with, and then in the other end, a finer paste for finishing the job. A small amount of paste is applied to the end of the valve and then it is inserted into its respective port. A large flat bladed screwdriver can then be inserted into the valve head and by cupping both hands around the screwdriver handle and rubbing back and forth, this gets the abrasive action of the paste to clean up both the valve seat and the valve head.

The new valve springs. One already fitted with its cap and retaining pin
With the valves ground in, I again flushed the ports through with paraffin and then it was time to fit the valve springs. I had already purchased new springs as the ones removed from the engine when I stripped the cylinder head were badly rusted and pitted. When I first purchased the engine, it turned over ok, but there was no compression. This was due to the fact that the inlet valve had been stuck in the open position and this had in turn bent one of the push rods. In addition to this, there was no exhaust fitted to the engine. Consequently this had allowed all manner of dirt, cobwebs, and general detritus to enter the exhaust port.
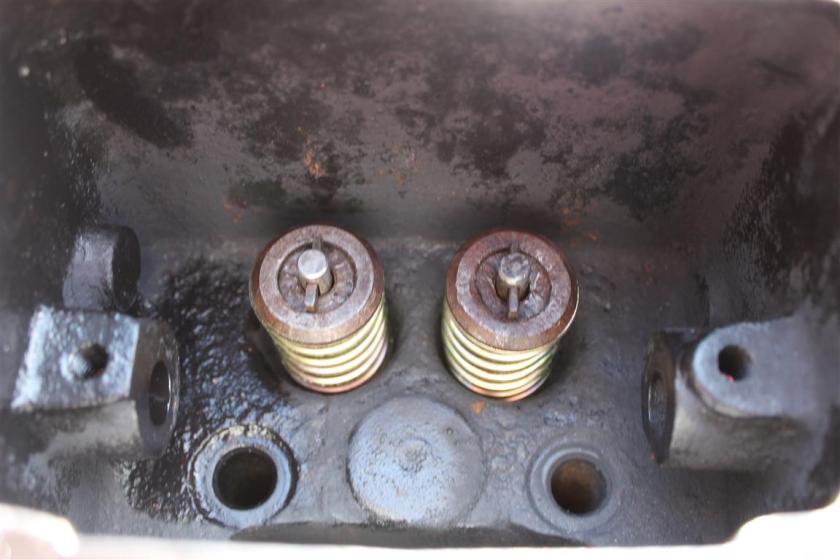
Both valves fitted. The valve stem caps will be fitted prior to the reinstallation of the rockers.
Making the most of the sunny weather of course meant painting! It was a good opportunity to get the Mid Brunswick Green out and brush away. As before, I use a mix of 90% engine enamel to 10% thinners to give an easy to brush paint mixture, as the engine enamel is far too thick to apply in its neat form. A light rubdown with 600 grit wet and dry paper to the parts previously painted with red oxide primer and then a rub over with a damp cloth and it was ready for the green!
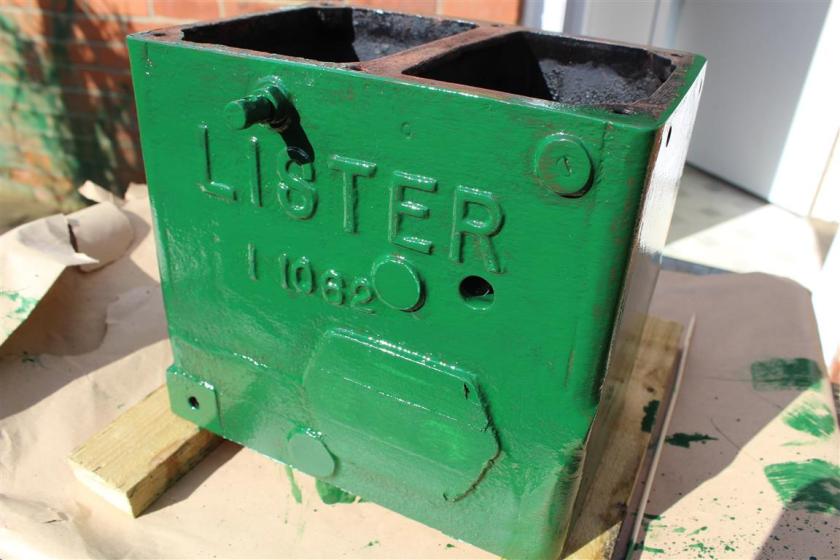
The first of probably three coats. Note the masked off inlet & exhaust ports. Similarly, the base of the cylinder head is also covered with masking tape.
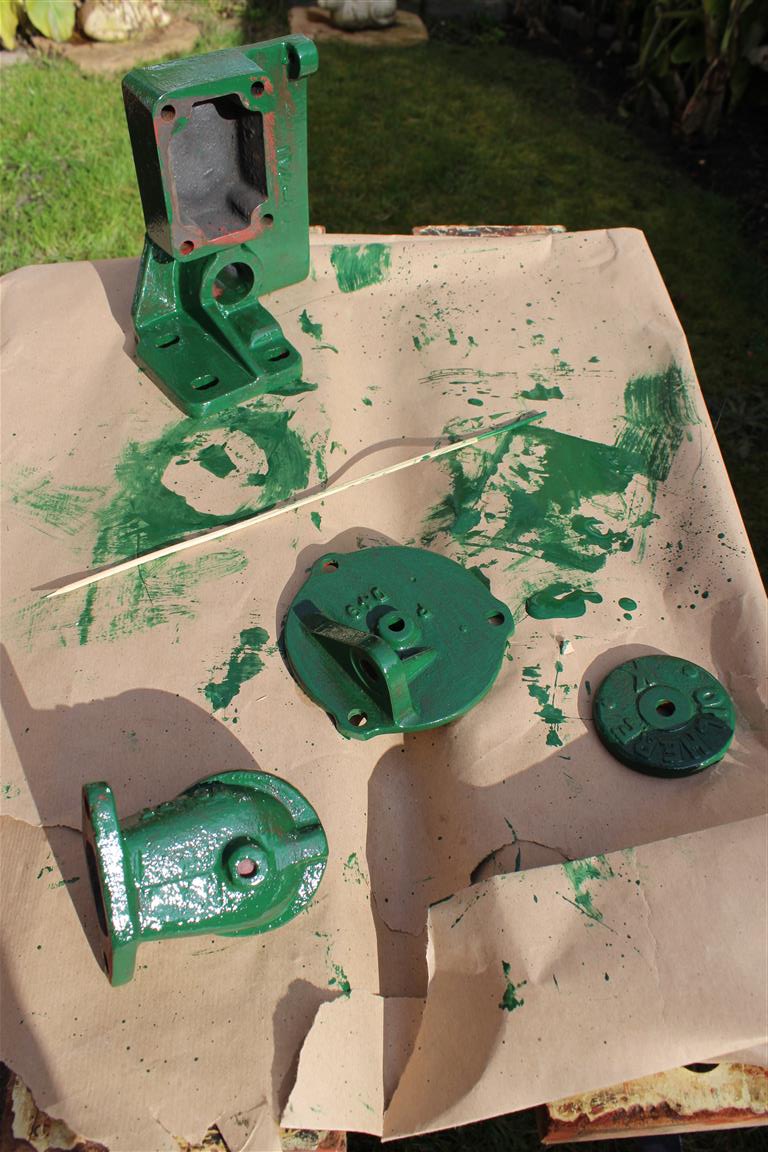
Some of the other smaller parts also got their first coat of engine enamel.
