Having gone to the trouble of removing the old bushes from the connecting rod, I then had to wait several weeks for replacement parts to arrive, due to them being out of stock. Today I was able to fit the new bushes. This was done by heating up the con-rod with a blowlamp to get the metal to expand. The new bushes themselves were put in the freezer for a few hours in an attempt to get them to contract and make the job of getting them in a bit easier.
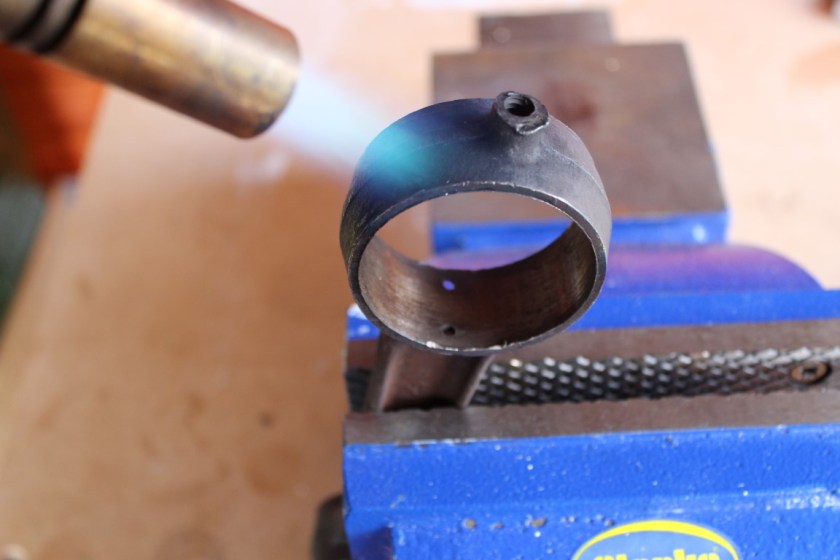
Heating the con-rod with a propane torch
It’s then a case of quickly lining the new bush up with the holes in the con-rod and then using a flat piece of sheet steel quickly tapping the bushes in.


Once both bushes were in it was time to refit the piston and gudgeon pin. The small end bush required a little work with emery cloth to get the pin to fit.

Applying some grease to the gudgeon pin
Beginning to tap the pin through the piston and the connecting rod
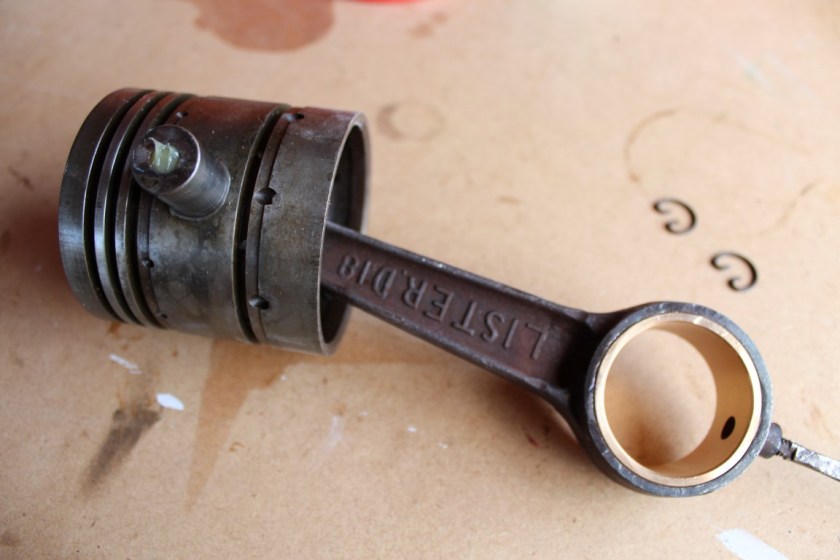
Finally it was a case of refitting the circlips either side of the pin. The next job will be to fit the piston rings and then prepare the crankcase to fit the piston and crankshaft. I will also need to mount the crankcase on the trolley at this stage, because as I start to reassemble the engine, it will get too heavy to lift otherwise.

The reassembled piston and connecting rod
