Today I have put the flywheel back on and had a go at fitting the new flywheel key. I’d purchased a brand new key, as the old one got a bit damaged during removal. I applied some engineers blue to the key before attempting to fit it.
The new flywheel key with blue ink applied….

…..and ready to be hammered into position
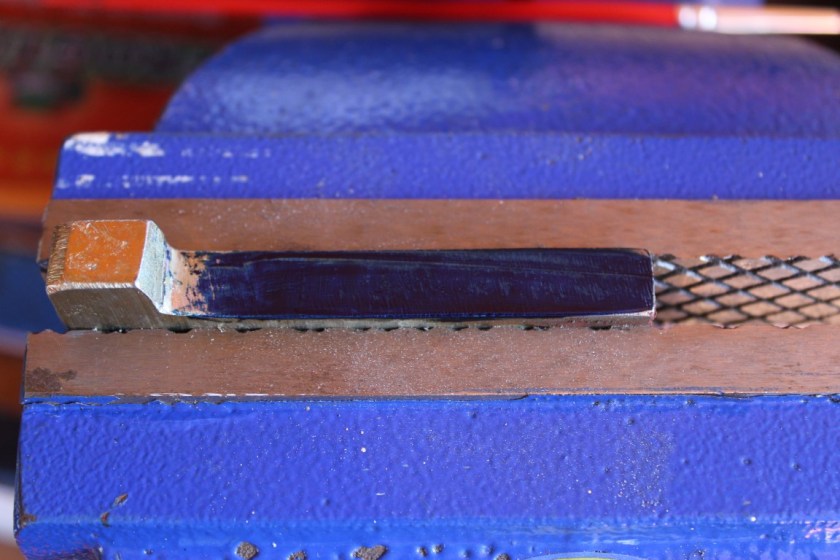
I used a brass drift to hammer the new key into position. At first the key only went about halfway in. I then removed the key and was able to see the high spots, where the blue ink had been rubbed off.

The blue ink has been rubbed off on the high spots
It’s then just a case of using a flat file to remove some of the high spots before applying some more blue and starting the whole process again. I had to fit and remove the key three or four times before I achieved the correct fit.

The flywheel key now fitted…..

….with a gap of about 1/2″ between the flywheel and the key head, or the thickness of the key itself.
Next up was the cylinder head, not forgetting the all important gasket. Yesterday I’d applied some chemical metal to the pitted areas of the cylinder head faces. This was sanded back flush with the surrounding surface today. The cylinder head gasket is of a fibre type, sandwiched between two thin sheets of copper.
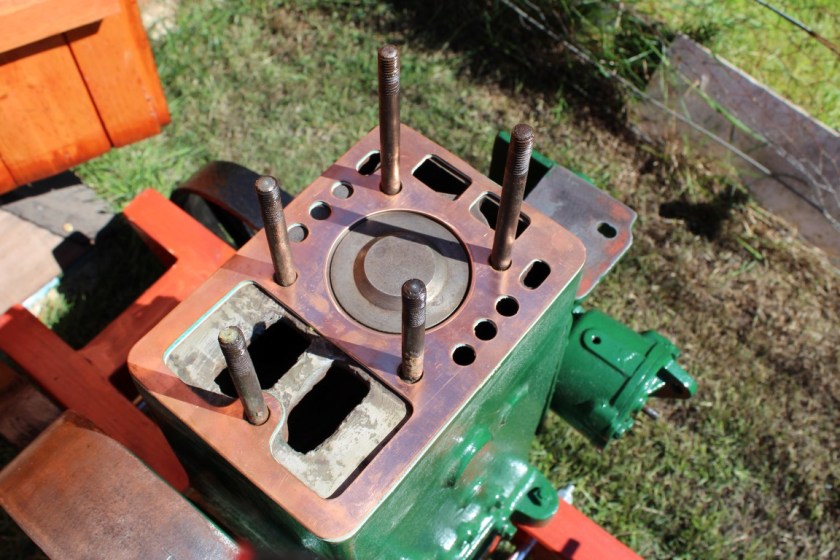
Once the cylinder head is fitted and the washers and nuts put in place, it’s a case of tightening them all gradually in a kind of diagonal pattern, similar to how you would fit a cylinder head on a car. Each nut is nipped up a little before moving onto the diagonal opposite and you just keep going round until they are all tight.

Ready to tighten one of the brass domed nuts in the water hopper
Now the flywheel and the cylinder head are back on, you can certainly feel the difference in weight, and pushing it back up the ramp into the shed is a bit of a struggle! At least now it is starting to look like an engine again and hopefully it will all be plain sailing from here. One thing I hadn’t mentioned is the situation with the magneto. Unfortunately the coil is knackered and so I had two choices. I could try and source a working magneto from ebay OR have the coil rewound. I have opted for the latter, which is the more expensive option, but I am going to have the mag professionally rebuilt and refurbished so I see it as an investment. The last thing I want is a fully restored Lister D with a ropey old mag that could fail at any time. I have already poured hundreds of £’s into this project, what’s a few more? At best it could be worth £200 when finished, but I’m not in it for the money, just the experience and the fun!
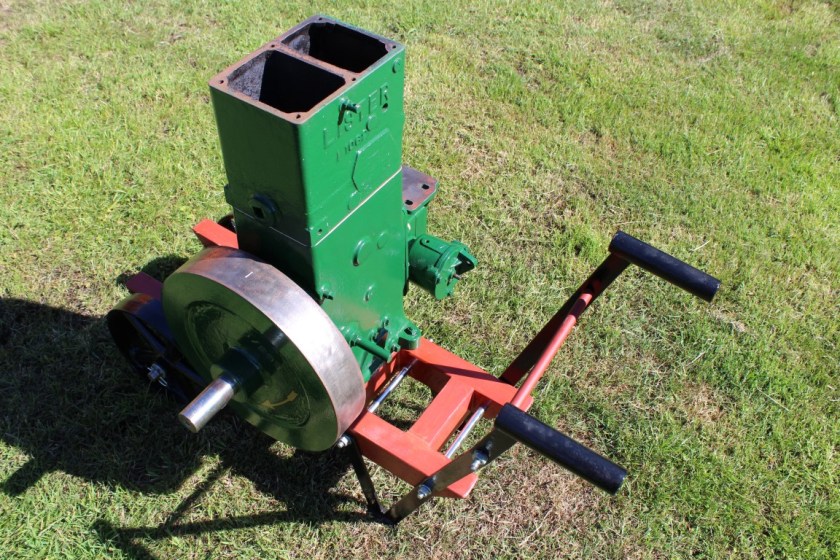
It’s vaguely like a Lister D Type!
