With the carburettor and the exhaust fitted, all that remains is the fuel tank and the magneto. The mag is still away being repaired, so the only thing I can get on with is the fuel tank. The fuel tank had been prepped, filled, sanded and painted nearly two years ago! Since then it has been knocking about in the shed and unfortunately picked up one or two knocks and scrapes along the way.
Consequently I have decided to give another rub down and fill another small dent near the filler cap. I might as well get it right before fitting it. As before I have used standard car bodywork filler. Once it has gone off, I will rub it down before applying another coat of paint. I’ll probably go over the tank straps again whilst I’m at it.
")
")
The fuel tank on the whole is in pretty good shape. I don’t think I’m going to have any trouble with leaks. In fact I’m fairly certain that the tank I have is not original and is a much more recent remanufactured part. However, the inside is still fairly dirty and rusty, so I intend to clean and then seal the inside to prevent any contamination of the fuel. To that end I have purchased a two stage kit for cleaning and then sealing the inside of the tank.
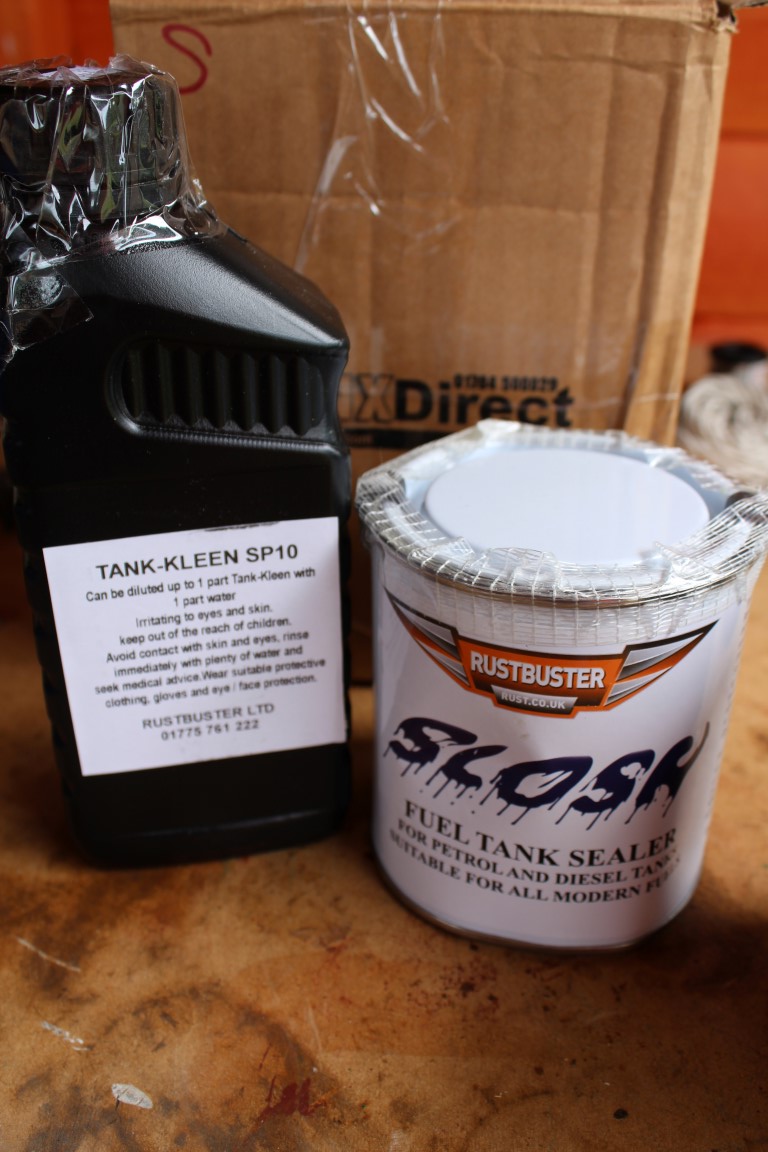
Fuel tank cleaner and sealer “Slosh”
The one other “little” job I did today was to make up a gasket for the oil filler. There appeared to be a little bit of oil leaking from around the filler, probably from when the engine is tipped forward when I’m pushing the trolley up the ramp into the shed.

Oil filler cover
I took the oil filler cover and placed it on some thin card. I then drew around the cover with a pencil and cut out the card. I then pressed the card against the inside of the cover to mark the internal diameter and cut that out too. Hopefully this will prevent the leak.
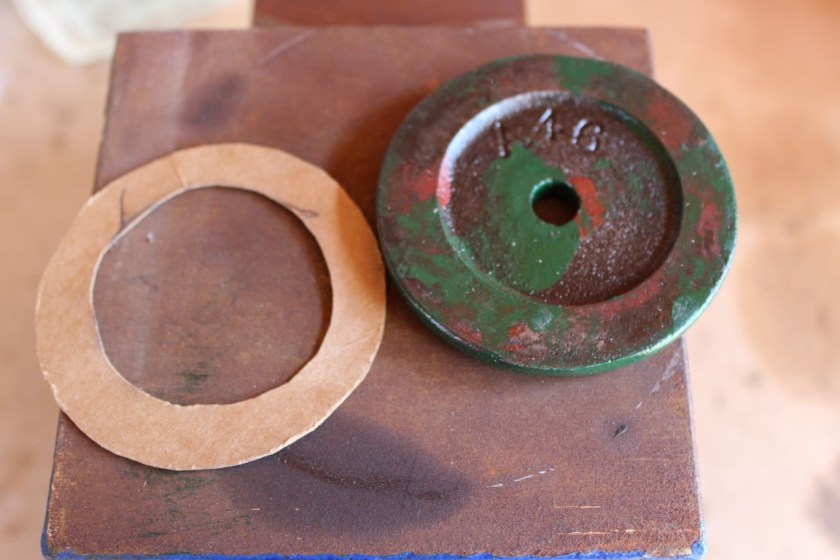
The improvised gasket
