So it was on with cleaning up the crankcase ready for painting. First of all I used a wire brush attachment in a cordless drill to remove the worst of the rust and old paint.
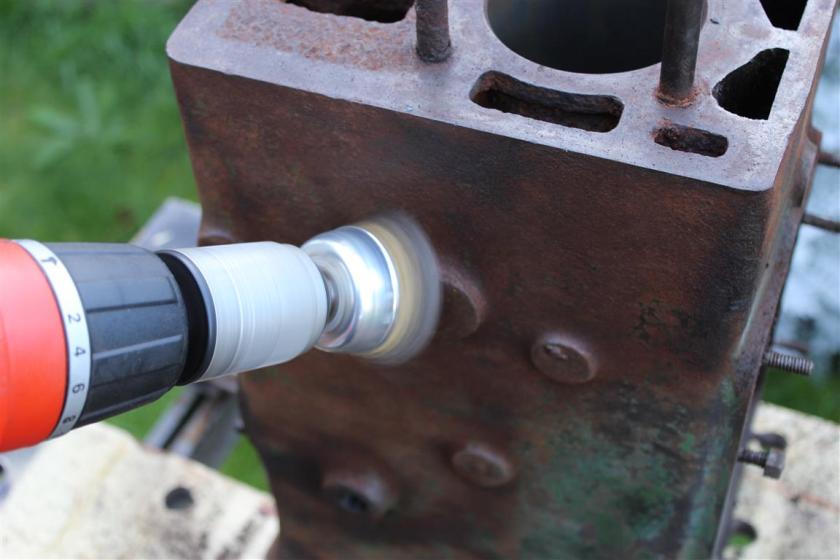
Attacking the rust!
Then I switched to an 80 grit flap disc fitted to the angle grinder. This was good at removing small casting marks that have obviously been there since the engine left the factory in 1942!

Rubbed down….
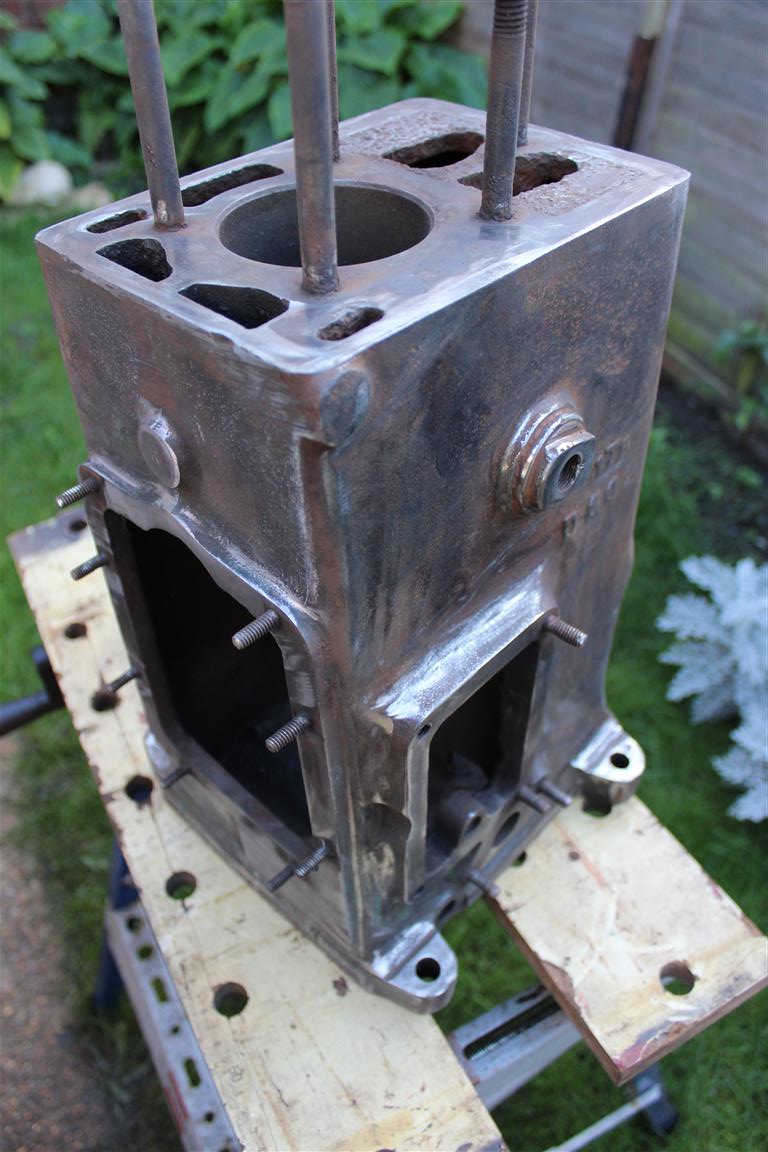
….and ready for paint!
One other problem that I’d left since very early on in the restoration was the sheared off water drain tap. There was a horrible looking old tap, almost like a bathroom tap, on the engine when it was purchased. I’d managed to shear this off flush with the crankcase when attempting to remove it.
Using a cold chisel and a hammer, I managed to cut through the softer brass tap thread and peel it away from the casting and extract it. This will allow me to now fit a smaller more suitable drain tap.

Peeling away the old material ready for the new tap
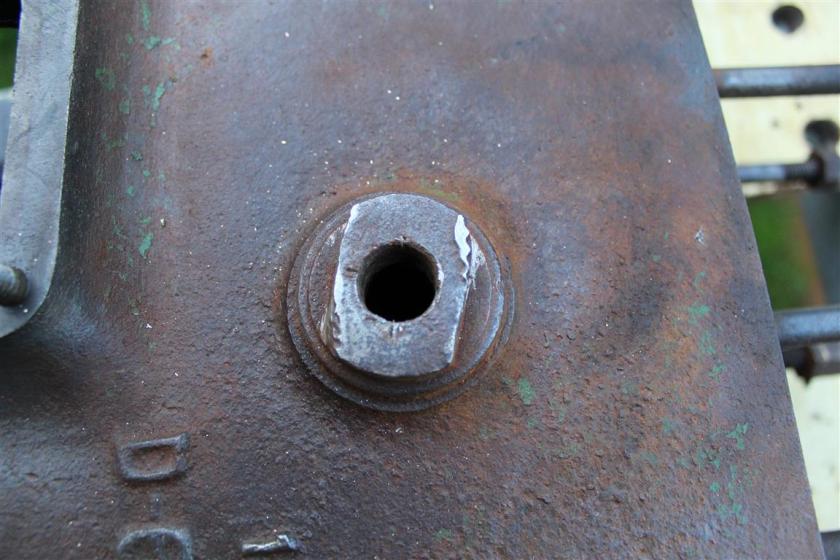
Internal thread cleared ready for the new tap
With that completed, at last a coat of red oxide could be applied to the crankcase. I aim to apply two coats of red oxide followed by two coats of the Mid Brunswick Green engine enamel. This will be four coats of paint in total over the bare metal, which I think will give a good barrier against the elements. This will hopefully preserve this engine for many more years to come.
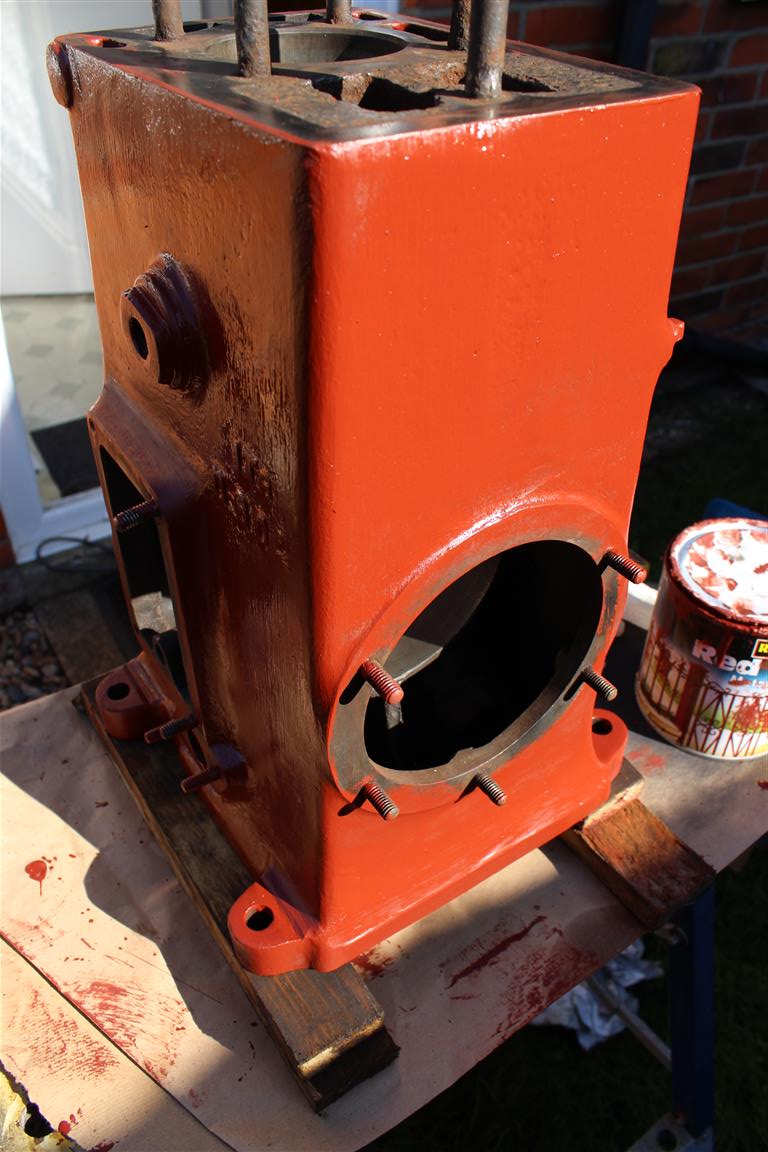
The first coat of red oxide primer

