With the primer on the crankcase dry, I applied the first coat of Mid Brunswick Green. I mixed up a solution of 90% paint with around 10% thinners to try and make it easier to apply. Engine enamel paint is quite thick, so using thinners made it a little easier to brush on.
It hasn’t gone on too badly, but despite using a brand new Harris brush, there are still one or two bristles stuck in the paint as well as the usual airborne fluff, dust and insects that will no doubt attach themselves to it as it dries. I will rub it down again lightly with 600 grit wet & dry before the second coat.
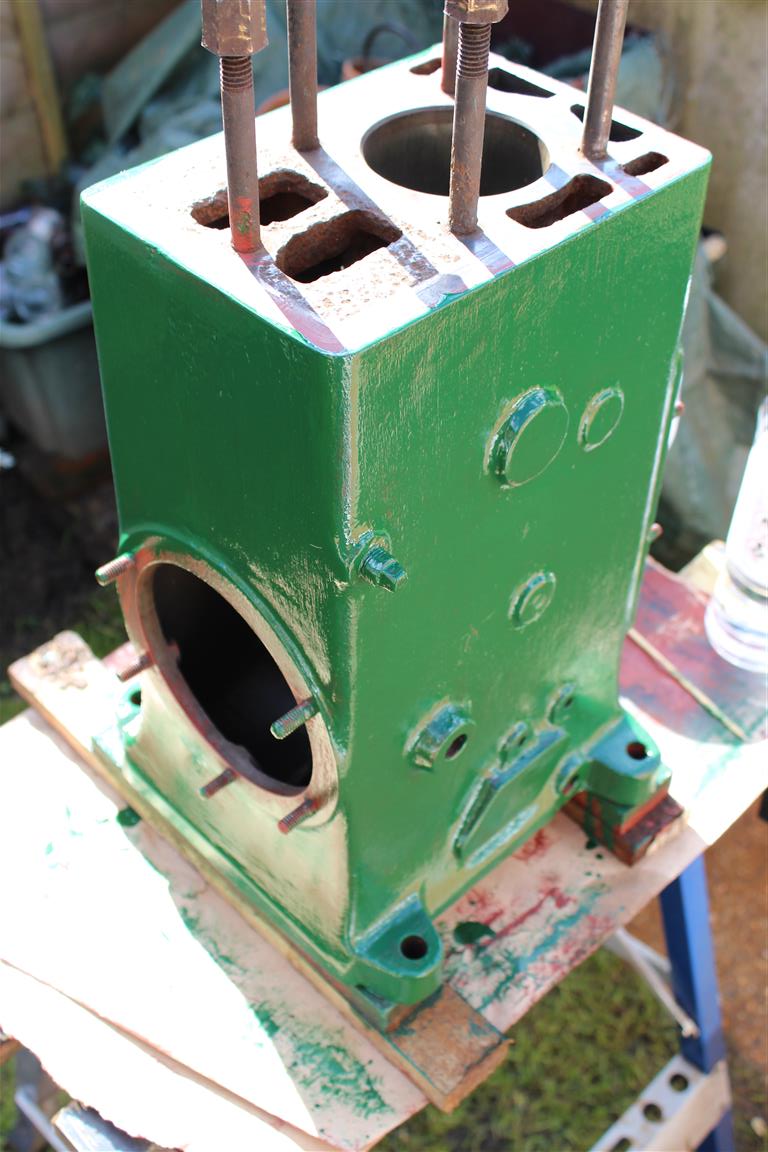
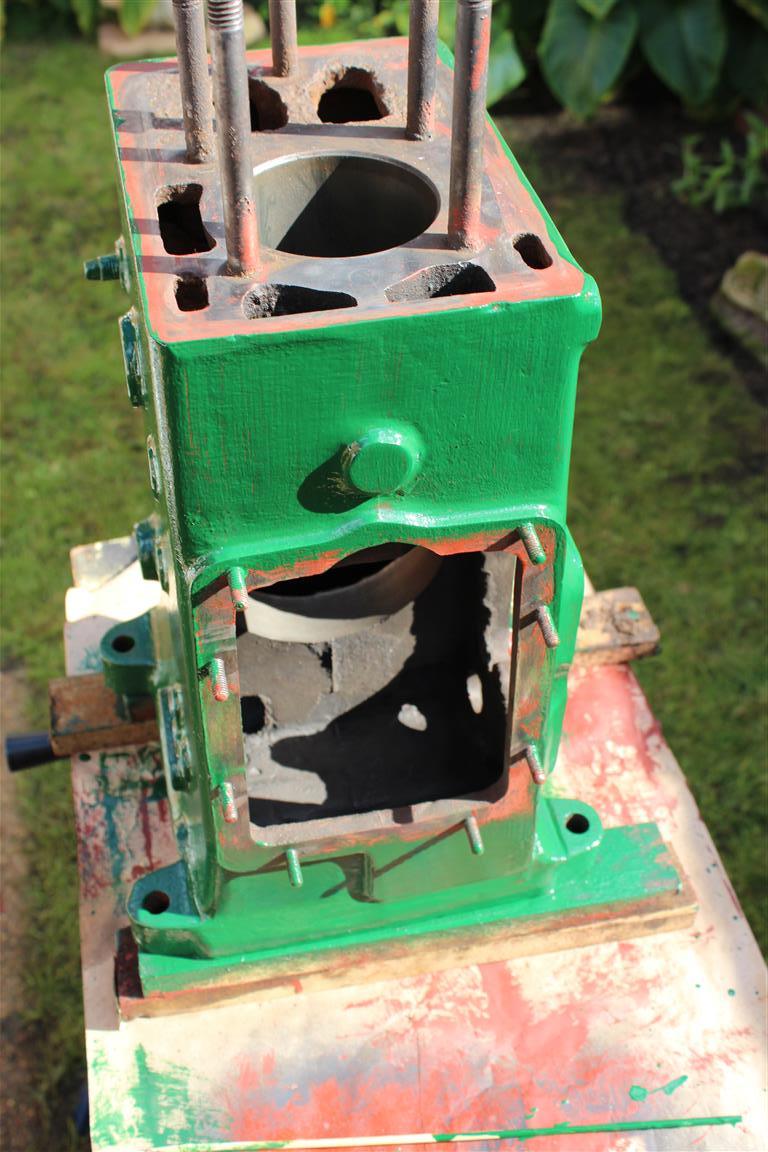
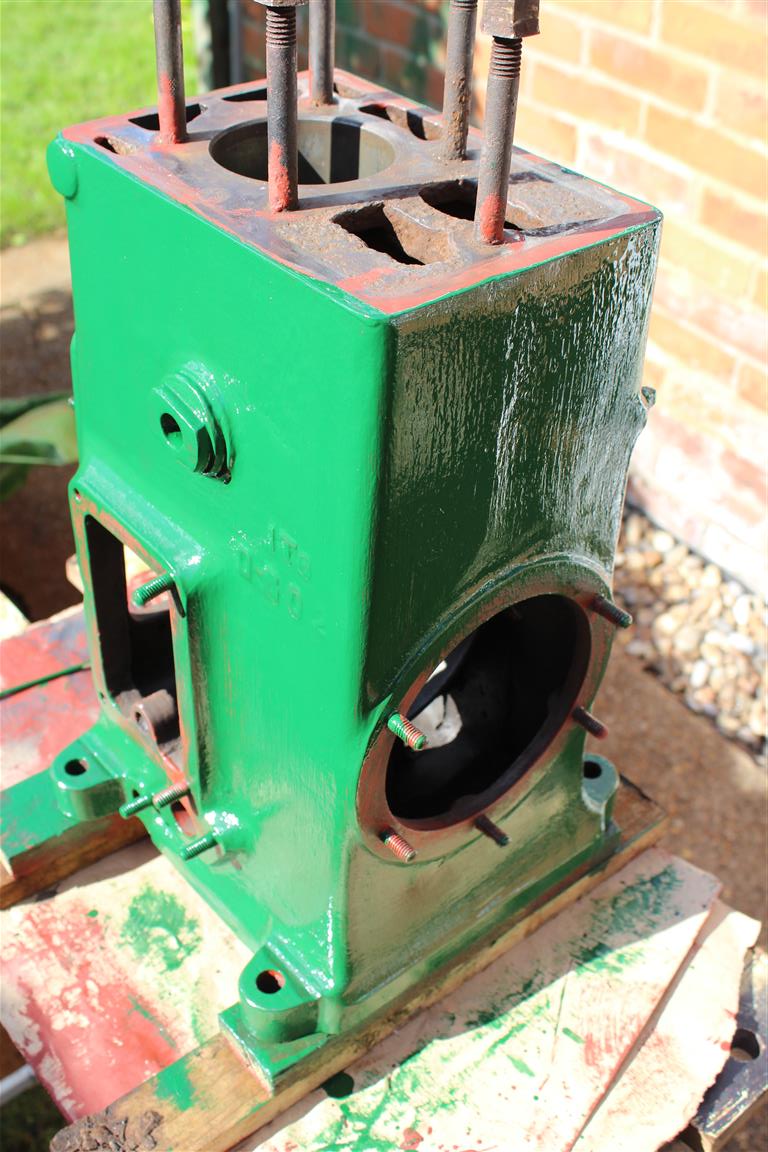
I know that most people would probably paint the engine as one complete job, with all the other components attached. However, I need to paint the crankcase separately so that I can then fit it to the trolley, ready to fit all the other parts. I still need to be able to lift the engine at this stage, and minus the flywheel and crankshaft it is relatively easy to move around and lift onto the workbench.
I also looked at the crankshaft today, with a view to removing the shaft from the bearing housing. I removed the four bolts securing the plate at the flywheel end of the crankshaft to expose the oil thrower. This is held on by a circular clip and a grub screw. I removed these but could not get the oil thrower to move. It was at this stage that I decided that perhaps I would leave this assembly alone, as it doesn’t really need any attention. It is so heavily over specified that I’m sure it will be ok.
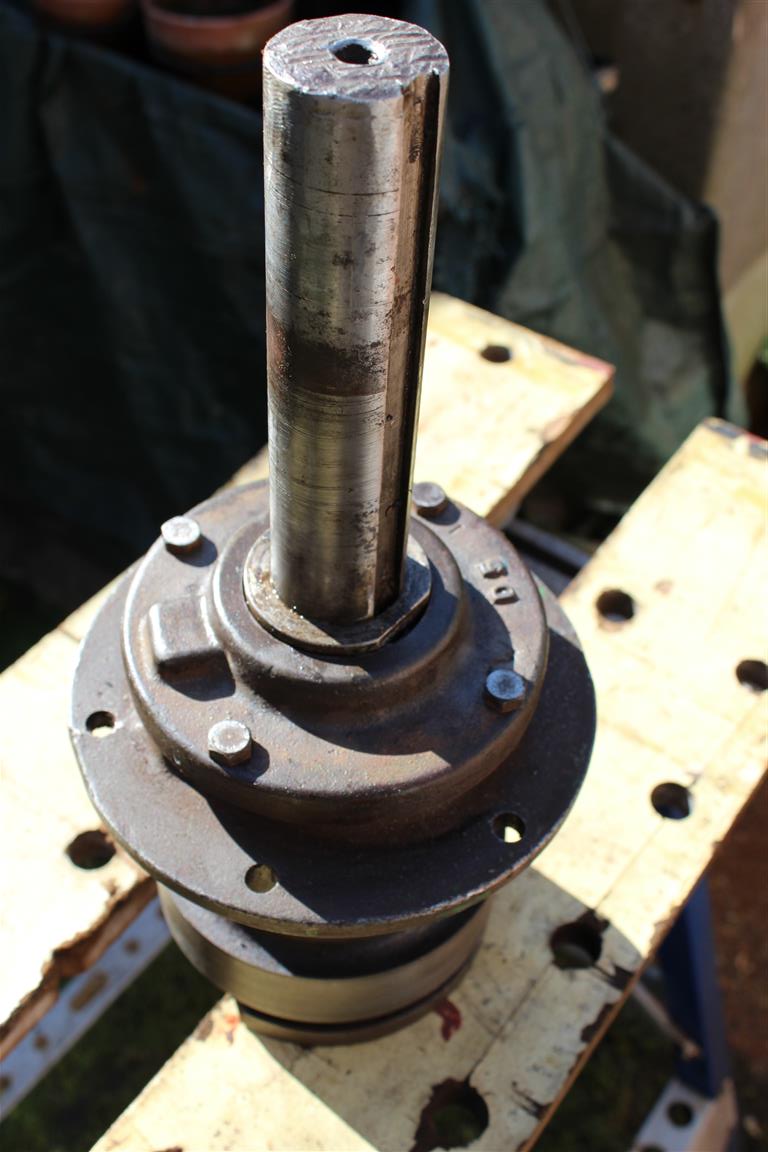
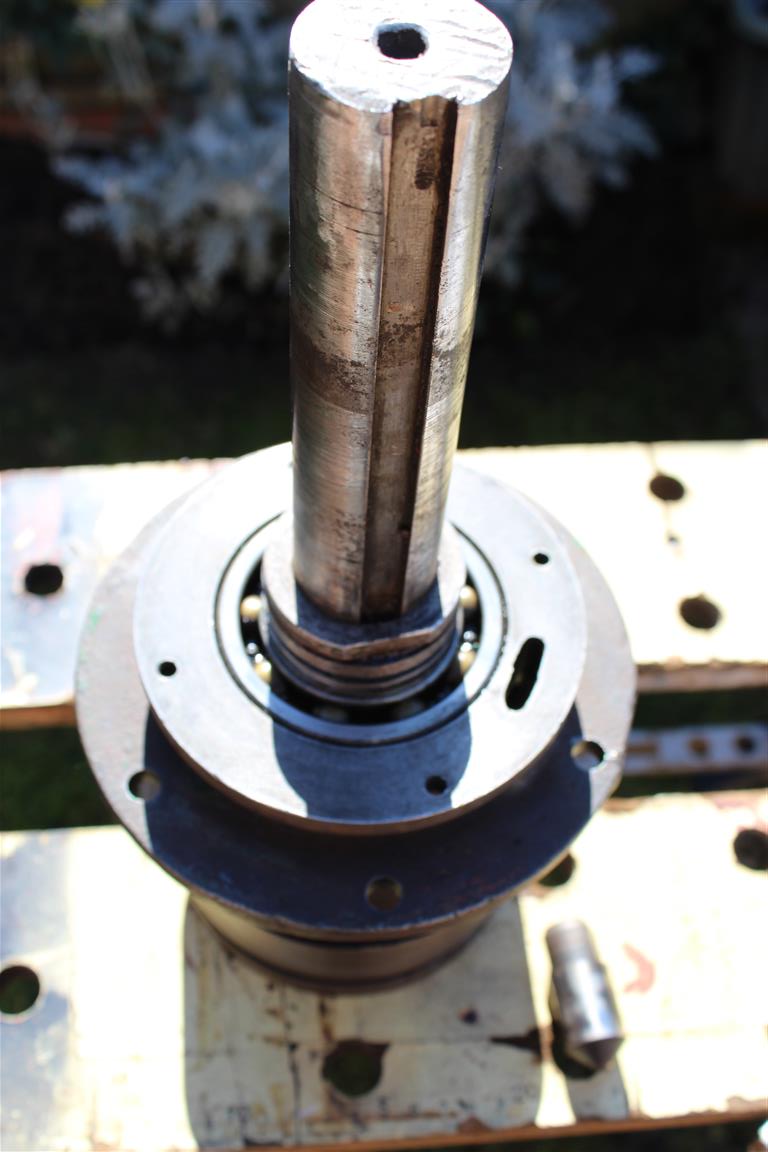
I packed the front (flywheel end) bearing with loads of grease before refitting the cover. I then applied a coat of primer to the exposed parts.
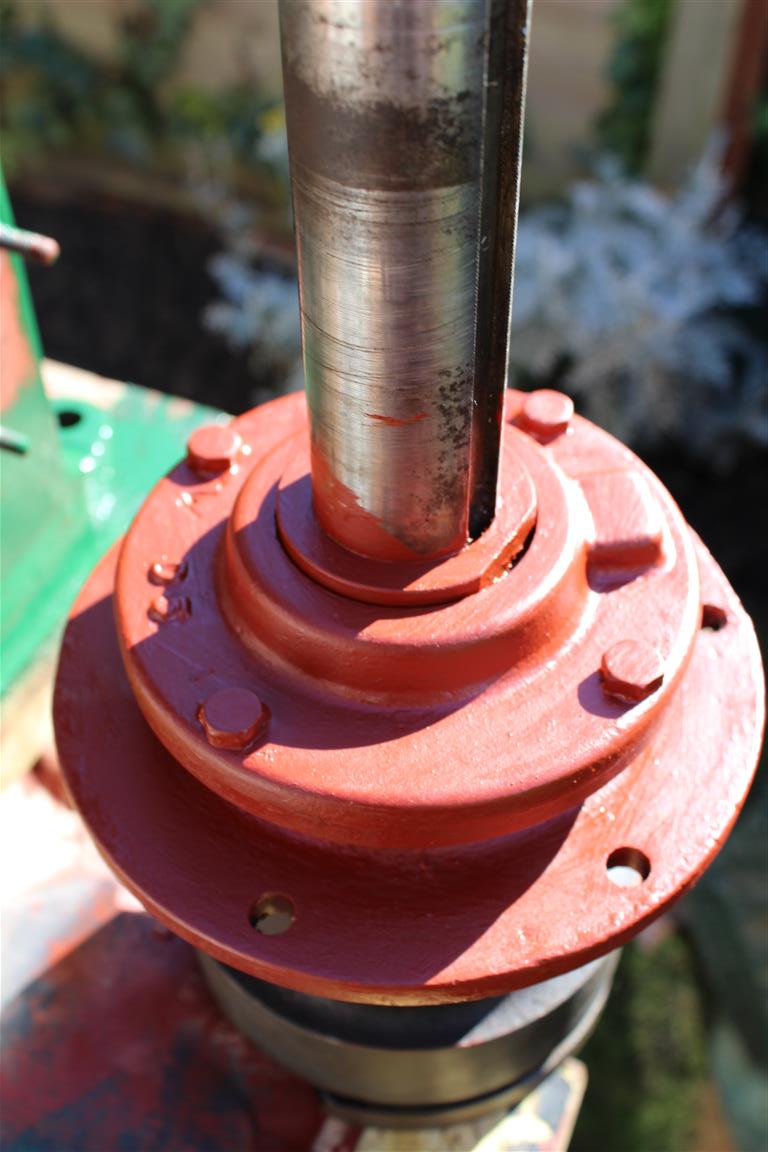
Once the crankcase is fitted to the trolley, I will replace the crankshaft, piston and governor housing before fitting the cylinder head. That will probably be my next main task. Grinding the valves and fitting them back with the new springs that I have purchased.
